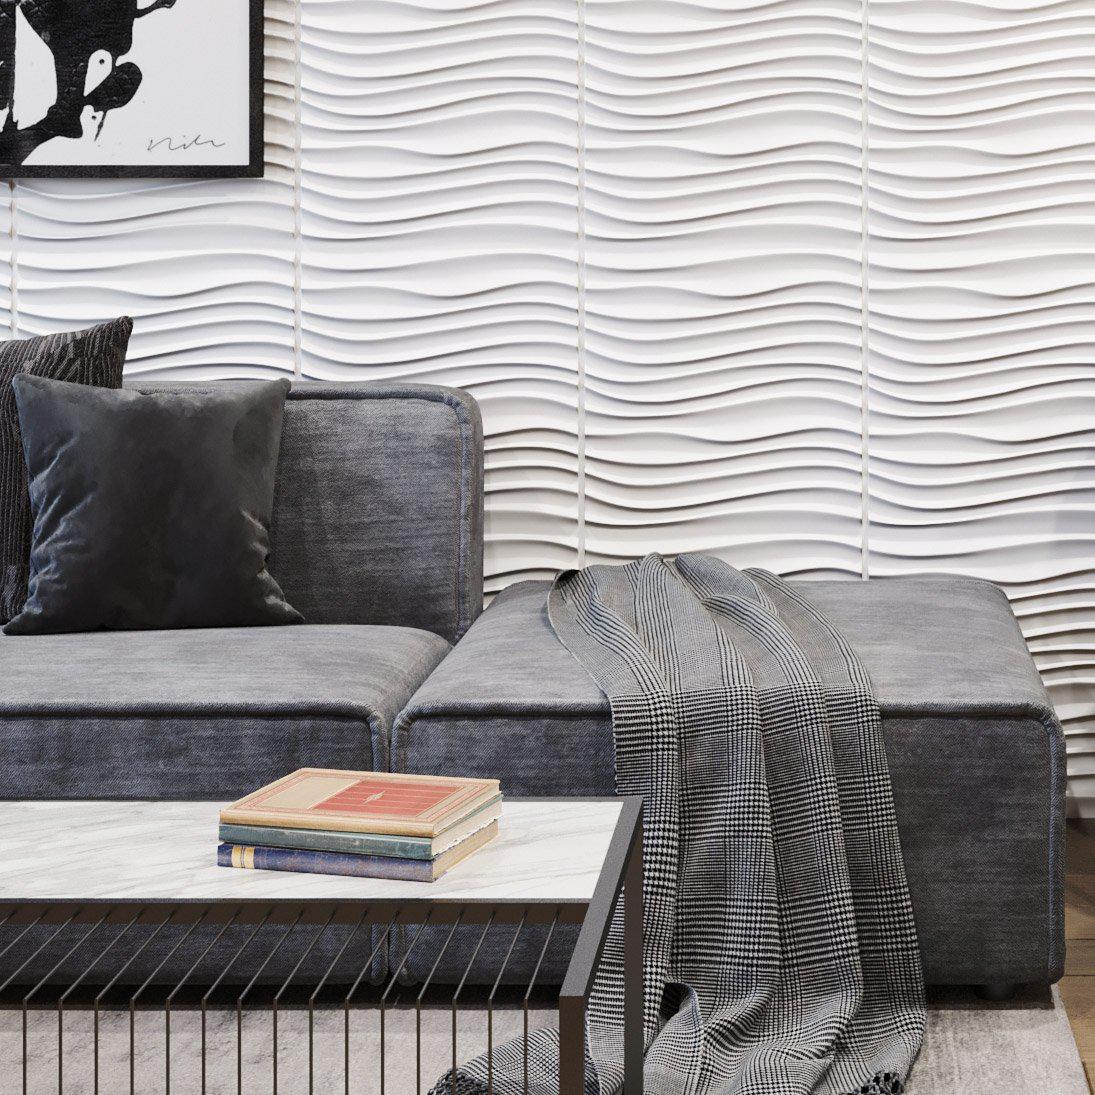
How to Install 3D Wall Panels
INHABIT PAINT READY WALL FLATS
RECOMMENDED SUPPLIES:
- PAINT READY WALL FLATS - 3D WALL PANELS
- DRYWALL PRIMER/SEALER
- CONTACT ADHESIVE - We Recommend 3M FastBond Contact Adhesive 30NF Neutral (Meets ASTM E84 Class A requirements) (Greenguard certified) or Dap Weldwood Low Odor Contact Cement
- SHEETROCK® DURABOND® JOINT COMPOUND (Optional)
- LATEX/WATER-BASED PAINTS
ADDITIONAL HELPFUL TOOLS:
- ADHESIVE PAINT ROLLER
- FELT SIDED PRESSURE SQUEEGEE
- PAINT BRUSH, ROLLER OR HVLP PAINT SPRAYER
- UTILITY KNIFE AND/OR POWER TOOLS
- PUTTY KNIFE
- LEVEL & RULER
- PAINTERS TAPE
- FINISH SANDING BLOCK/SANDPAPER
STEP 1 : SURFACE PREPARATION

STEP 2 : PLANNING
Use a level to mark lines on the wall to ensure straightness and accuracy. Allow cut panels to fall in more inconspicuous areas like corners and the bottom of a wall. If working from the center out, panels that fall at edges may need to be cut. Plan your design well to ensure desired results. Remember, measure twice and cut once.
TIPS FOR CUTTING PANELS: Wall Flats can be cut with a standard utility knife or power tools. We recommend taping along cut lines or drill holes with painters tape to reduce pulp flair when using power tools. We recommend blades, bits, etc...designed for finishing work. When using power tools follow manufacturer’s suggestions for use and safety.

STEP 3 : 3D WALL PANEL INSTALLATION
Determine if the installation will be wall-to-wall, a floating design that leaves an even border, a strip of panels, etc... Plan well before beginning. If you are unsure, lay the panels out on the floor or sketch it out.
Installing with contact cement, follow manufacturer’s recommendations on applying to both the wall and the panel and working times prior to adhering to the wall. A second coat may be required.

Once panels are in place, apply pressure around the perimeter of the panel and other touchpoints to the wall to lock in place. When all the panels are installed, apply pressure to the entire flat surface to achieve a full bond.
After rolled re-positioning is not possible.
SEAMLESS INSTALLATION (OPTIONAL)
A modular product will have visible joints. If planned into the design there is no need for additional work. Most panels are designed in a manner that the design elements and spacing work to minimize joint appearance without additional finishing work. For a near seamless installation a 1/16" gap must be left evenly between the panels.

STEP 4 : FINISHING THE 3D WALL PANELS
PRIMER COAT - After panels are adhered to the wall a primer/sealer coat should be applied before any finishing work. The primer coat generally protects the panels during finishing.
FILLING JOINTS FOR A SEAMLESS INSTALLATION (OPTIONAL)
For a near seamless installation earlier we recommended spacing the panels 1/16". Fill the gaps with Sheetrock® Durabond® joint compound. First coat is for filling the gaps. Keep it clean. If you need a quick knock-down sanding to smooth the joints out do it between coats. Do not over sand. Second coat should be for creating a smooth transition between panels. Final sanding will be required to perfect the blending. If you need to go back and address certain areas with additional compound and sanding now is the time.
TIP: FINISHING AROUND OUTLETS AND SWITCHES
Use extension boxes for outlets and switches to bring them out past the Wall Flats. Cut panels to fit the box opening and finish caulk around edges.

STEP 5 : FINAL PRIMER AND PAINT COAT
Once satisfied with the finishing work ensure the surface is free of dust and apply final primer coat and paint coat.
ENJOY!
VIEW OUR 3D WALL PANELS


